Well my first jaunt into RFID taught me something. RFID reading on the Arduino is so remarkably simple that it offers about as much challange as drinking a glass of milk. It did teach me a fair amount about serial communication though, and I suppose I can't really complain about the implementation of a project being too easy. But it is. As a project it's been a complete success, but it's failed as a hobby.... So now I need to do something else with it. I've wired it into the LCD screen to show the card numbers, I wonder if I could build a game with it?
The robot arm project will also soon take off. The arm is built, but I need to Frizting up a schematic before I go blundering in stripping out the wire headers and installing h-bridge ICs.
Now sleep.
Showing posts with label arduino. Show all posts
Showing posts with label arduino. Show all posts
Sunday, September 4, 2011

Friday, August 19, 2011
Serial Communication
Onward with the projects! I have a few things on the go at the moment, working 9 to 5:30 breaks up my creative flow for outside projects, but I've gotten the Arduino and my computer conversing nicely using serial communication. First I used a potentiometer to control the screen background in Processing (thanks to Jeremy Blum for his fantastic arduino video tutorial series, I recommend it to absolutely anyone and everyone). Next came using Processing to control the Arduino, first with an LED on/off button approach, next using sliders to control PWM brightness. I used the controlP5 sliders, you can download the controlP5 library for free (google it).
Here are the sliders on my computer screen:
 And here's the results as laid out on my new breadboard (from proto-pic, where I bought the original Arduino kit):
 And a blurry dark photo to emphasise the different light levels:

I could not have done this without the help of Jeremy Blum's tutorials, Lucky Larry's tutorial on Arduino/Processing serial communication, and the ControlP5 slider example by Andreas Schlegel. The LEDs are on PWM-enabled pins 10 and 11.
I ended up with this Ardunio code:
And this processing code:
Which, I'll be honest, was a lot easier and shorter than I thought it was going to be. There's probably a better way of doing this (leave a comment if you know one!) but I'm happy with it for a first try. Learning with Arduino always seems to be fast, and I'm constantly surprised how simple things are. The electronics have actually been the harder part of this experience, trying to catch up after 15 or so years.
Still, having fun!
Here are the sliders on my computer screen:

I could not have done this without the help of Jeremy Blum's tutorials, Lucky Larry's tutorial on Arduino/Processing serial communication, and the ControlP5 slider example by Andreas Schlegel. The LEDs are on PWM-enabled pins 10 and 11.
I ended up with this Ardunio code:
int redPin = 10;

int yelPin = 11;

int buff[2];

//int

void setup()

{

  pinMode(redPin, OUTPUT);

  pinMode(yelPin, OUTPUT);

  Serial.begin(9600);

}


void loop()

{

  if(Serial.available() >= 2 ){

    buff[0] = Serial.read();

    buff[1] = Serial.read();

    Serial.flush();

    analogWrite(redPin, buff[0]);

    analogWrite(yelPin, buff[1]);

  }

}
And this processing code:
import processing.serial.*;

import controlP5.*;

ControlP5 controlP5;

Serial port;


int redval = 0;

int yelval = 0;


void setup() {

  size(400,400);

  smooth();

  port = new Serial(this, "COM3", 9600);

  controlP5 = new ControlP5(this);

  controlP5.addSlider("red",0,255,128,200,180,100,10);

  controlP5.addSlider("yellow",0,255,128,200,210,100,10);

}


void draw() {

  background(0);

}


void red(float redi) {

  redval = round(redi);

  port.write(redval);

  port.write(yelval);

}


void yellow(float yeli) {

  yelval = round(yeli);

  port.write(redval);

  port.write(yelval);

}
Which, I'll be honest, was a lot easier and shorter than I thought it was going to be. There's probably a better way of doing this (leave a comment if you know one!) but I'm happy with it for a first try. Learning with Arduino always seems to be fast, and I'm constantly surprised how simple things are. The electronics have actually been the harder part of this experience, trying to catch up after 15 or so years.
Still, having fun!
Monday, August 15, 2011
Arduino-programming girlfriend
My girlfriend picked up my Arduino, pre-wired into a 16x2 character LCD screen, and looking at a simple example has programmed it to display messages, flash text, use functions and loops, all with no previous programming experience. Jealous? Yeah, you're totally jealous. I think it also helped her understand a little of what I do at work (I'm essentially a programmer).
Personally I have a few ideas for some projects. I'd like to do some previously buillt projects first though, maybe starting with a knock sensor, then moving on to a controls-to-usb-controller-output macro thingy. i lost my last controller so I'm going to have a good time re-mapping the key matrix. At some point I have to face my fear of motors and continuous rotation servos so I can get on my way to my LOGO robot! I wonder what the torque is like on my mini servo...?
My second order from proto-pic is still awaiting fulfillment. If they're ordering in a 22mF capacitor to complete my order because I didn't check that they were out I will kick myself extra hard. My purchase from hobbytronics was cheap, very affordable postage, arrived the next day, neatly packaged, and it fit through my letterbox, so very happy with them!
Edit: Oh yes, my office is now in full force, with a workbench and a lamp for arduinoy goodness, although my notebook makes arduino work pretty mobile, and even more so when I get my components box!
Personally I have a few ideas for some projects. I'd like to do some previously buillt projects first though, maybe starting with a knock sensor, then moving on to a controls-to-usb-controller-output macro thingy. i lost my last controller so I'm going to have a good time re-mapping the key matrix. At some point I have to face my fear of motors and continuous rotation servos so I can get on my way to my LOGO robot! I wonder what the torque is like on my mini servo...?
My second order from proto-pic is still awaiting fulfillment. If they're ordering in a 22mF capacitor to complete my order because I didn't check that they were out I will kick myself extra hard. My purchase from hobbytronics was cheap, very affordable postage, arrived the next day, neatly packaged, and it fit through my letterbox, so very happy with them!
Edit: Oh yes, my office is now in full force, with a workbench and a lamp for arduinoy goodness, although my notebook makes arduino work pretty mobile, and even more so when I get my components box!
Saturday, August 6, 2011
Life and Arduino running parallel
Well, lifewise my Dad's come up to help me out with a handful and a half of tasks to take the pressure off. This will, combined with my Mum's book-keeping skills, keep the stress and stress-related conditions hopefully at bay until work calms down come September (and I can have a holiday).
In Arduino news I have a few ideas. I like the idea of an ethernet or wifi-controlled robot, I like the idea of a web-access sensor, I like many ideas, but I'd really like to try to build a LOGO turtle drawer robot. One you can firstly program using the USB connection, and later program using wifi or rfid or somesuch, and after that program using the buttons on the actual chassis. Wish me luck!
Firstly I need to buy a chassis, some tracks or wheels and get them working as I need. Also, I'd like to get some EEPROM memory and learn how to use it. I should learn a lot on this project.
In Arduino news I have a few ideas. I like the idea of an ethernet or wifi-controlled robot, I like the idea of a web-access sensor, I like many ideas, but I'd really like to try to build a LOGO turtle drawer robot. One you can firstly program using the USB connection, and later program using wifi or rfid or somesuch, and after that program using the buttons on the actual chassis. Wish me luck!
Firstly I need to buy a chassis, some tracks or wheels and get them working as I need. Also, I'd like to get some EEPROM memory and learn how to use it. I should learn a lot on this project.
Friday, July 29, 2011
My first arduino project
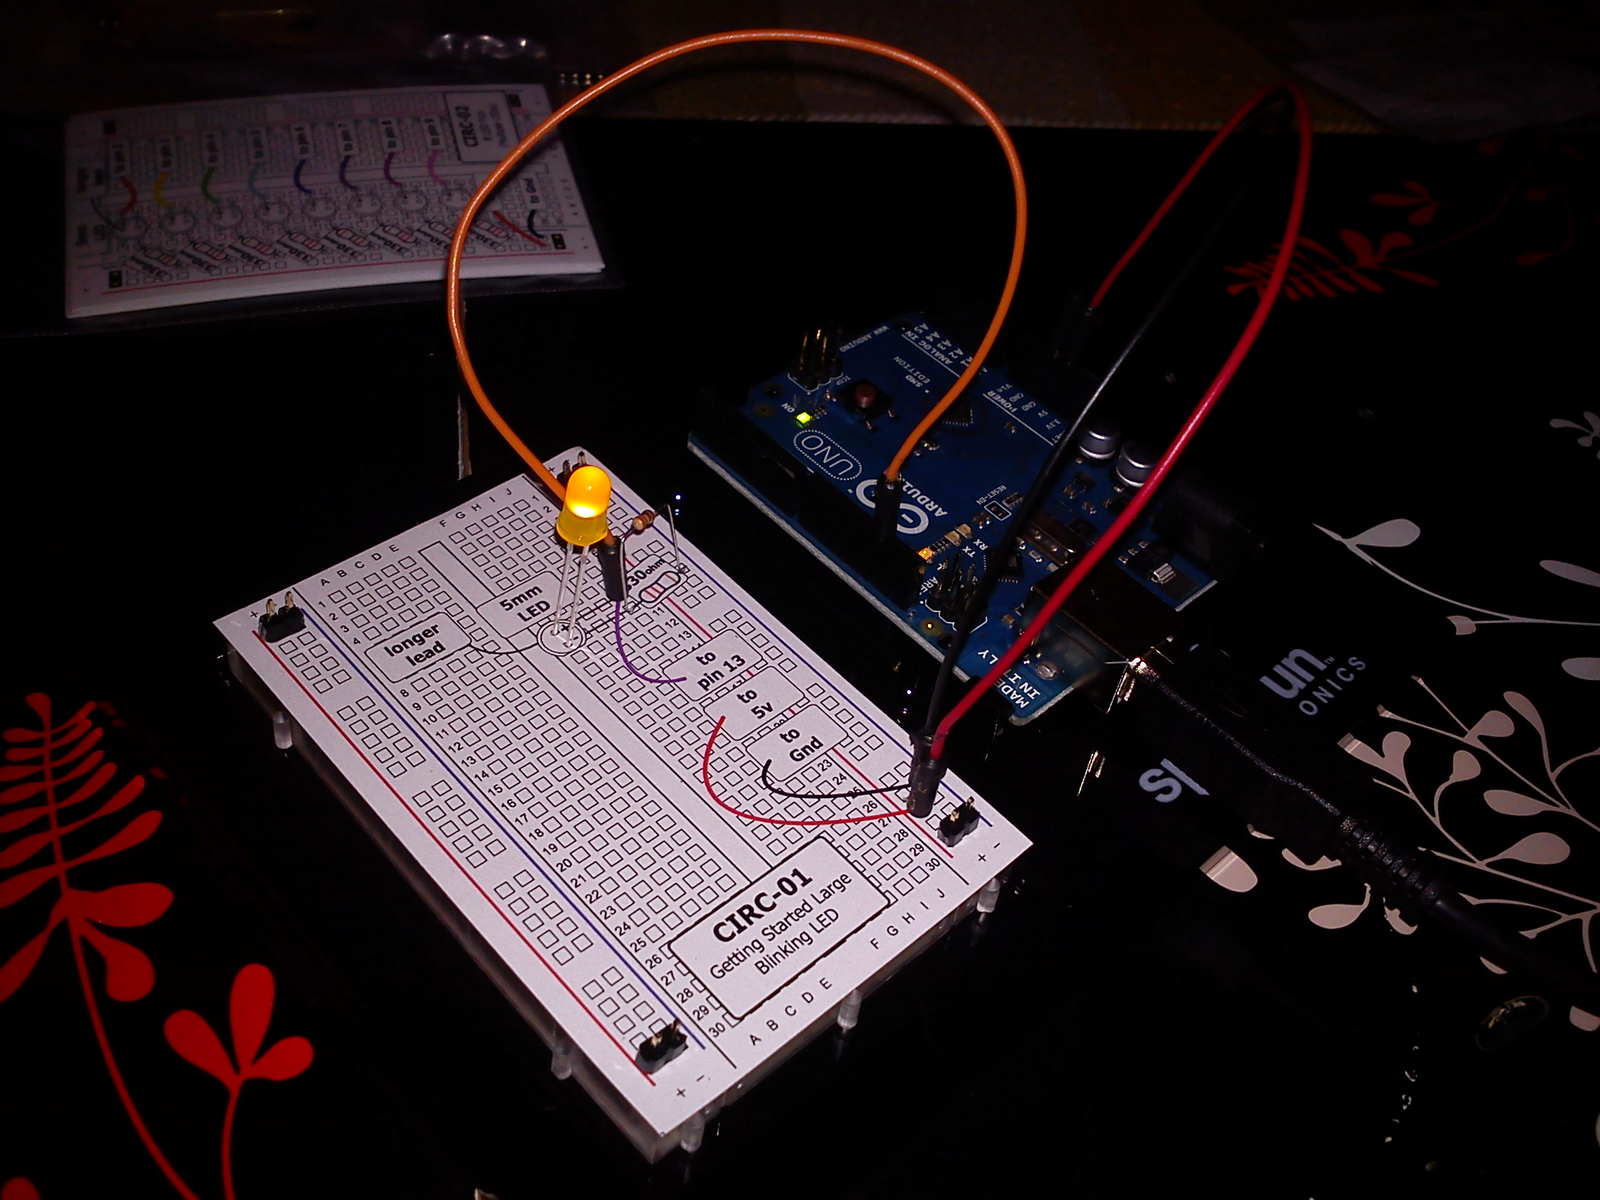
I have made this LED my bitch.
It flashes by my command.
The feeling of power spurs me on to my world domination.
It flashes by my command.
The feeling of power spurs me on to my world domination.
Subscribe to:
Posts (Atom)